If you asking me in more further about wedding photography tips for beginners than I will be more than happy to share for what I know after run this business for over than 10 years. First of all I’m truly grateful for being able to combine between business and passion because I know hundred of friends also stop their wedding photography business and start to work in a 9 to 5 office.
It just fine because every people will have their own way of success!
I know exactly that there is impossible to know everything about wedding photography tips for beginners in one single page. In fact since you are here so I really know about how good you are for spending much time to browse on Google, open the Pinterest, or watching thousand minutes about wedding photography is because you want to be a better wedding photographer.
8 Wedding Photography Tips for Beginners That You Will Learn in This Page
I’ve been asking about wedding photography tips for beginners many times so rather than I telling all of them one by one than it would be nice if I can share about it directly on my blog so both you and other readers will read easily and follow every steps that I’m going to share in this page.
So let’s dig in to go to the main topic,
1 – How to Prepare Your Photography Gears
Choosing gears for shooting wedding is the first thing that you must consider because your camera and lenses are looks like your gun in a war so once you get everything ready than it’s like a half of your success. My first wedding photography tips for beginners is about choosing your right gears that rely on capturing moments.
Camera
Back on present day I was shooting with Nikon D810, it seems to old for some photographers but I love what the D810 deliver to me for capturing moment. Generally after using Nikon at the first time on 2014 I was falling in love with its system, it fits on my hand and all the features inside the big body give me a lot of advantages for capturing fast moment in wedding.
Till now we used to know about two kind of camera type, the full frame and the APSC, if you use Nikon for your own than you may consider to use Nikon D810 or Nikon D750 to be your primary gear because these two beast are amazing and have all the ability to capture perfect moment on wedding.

I personally bring two cameras on my wedding shots because of two main reasons. First I want to shoot with 2 kind of lenses and when I have two body than it helps me to set the lenses since the beginning, surely it is heavy on my shoulder but I can’t negotiate for the moment it self. Second, I don’t want to lose moment just because I change my lens during the wedding.
Lenses
I used to bring 3 kind of lenses during my wedding session, ultra wide, tele, and fixed lenses but since I brought 2 bodies on my own than I usually put an ultra wide lens such as Nikon AF-S NIKKOR 14-24mm f/2.8G ED or similar to my first camera and Nikon AF-S NIKKOR 70-200mm f/2.8 on my second camera.

Ultra wide lens will useful for capturing moment with nice journalism style which belong to my way for over than 10 years and I love for being photo journalist during shooting wedding. Tele lens will mean a lot when I shoot for portrait after the preparation and also the ceremony where I can’t get too close with the altar. Both of those lenses are come in great aperture setting in 2.8 which is belong to my favourite, it helps me to shoot in sharp and clear just within a seconds.
Gears Conlusions
If I may giving you my first wedding photography tips for beginners than I will set you a gears such as:
You also may consider to read my previous article about choosing the perfect photography gears below:
2 – How to Shoot on Preparation
Next tips on wedding projects is about shooting on preparation. So many photographers don’t know exactly how to shoot on preparation because all they do is just come to couple’s home and shoot.
It’s absolutely wrong!
No matter where you shoot on preparation like at home or in the hotel room than this is your golden moment to get in touch with your couple and their family so first thing that you must do once you come into this scene is say a greeting and introduce your self for some people. Do a warm shake hand or hug your couple to say congratulation or any other positive words that will deliver nice ambiance during the day.
If I have only an hour to shoot on preparation than I will spend almost 20 minutes for have some fun with all the family member. Please remind that this is not for joking because I will keep holding my camera on my hand so once I flow with the moment and get some nice impression than I will shot it immediately.
When you feel that all the ambiance become positive and a lot of fun and trust than this is the right for you to focus on your job. You may know some things to do during this scene but if I can deliver you with a short shooting list than it belongs to:
- Detail shots for groom’s accessories like shirt, belt, tie, vest, jacket, cologne, shoes, and watch and when you are done than you can continue to shot for your bride’s accessories like headpiece, earring, ring, front-back dress, necklace, and also the bouquet
- Take a portrait of your groom and bride alone
- Take a group portrait of groomsman and bridesmaid
- Shoot for groom and parents than bride with her parents
- Shoot for groom and bride’s family member like brothers, sisters, grand ma and dad
- Do some creative shots that telling your couple about their preparation
Additional Tips
You may consider to put Nikon AF-S FX NIKKOR 50mm f/1.4G lens on each camera to shoot on detail accessories and portrait.
3 – How to Shoot on Blessing Ceremony
Number three and it belongs to the most important moment among the others since it’s called as,
Blessing Ceremony!
As I said above that I’m fully concern about blessing ceremony where I could get the most prestigious moment among the others. Just few minutes before the ceremony I will start to set my first camera with Nikon D810 + Nikon AF-S NIKKOR 14-24mm f/2.8G ED than my second camera with Nikon D750 + Nikon AF-S NIKKOR 70-200mm f/2.8 since as long as I shoot this is the most reliable gears combination for the moment.
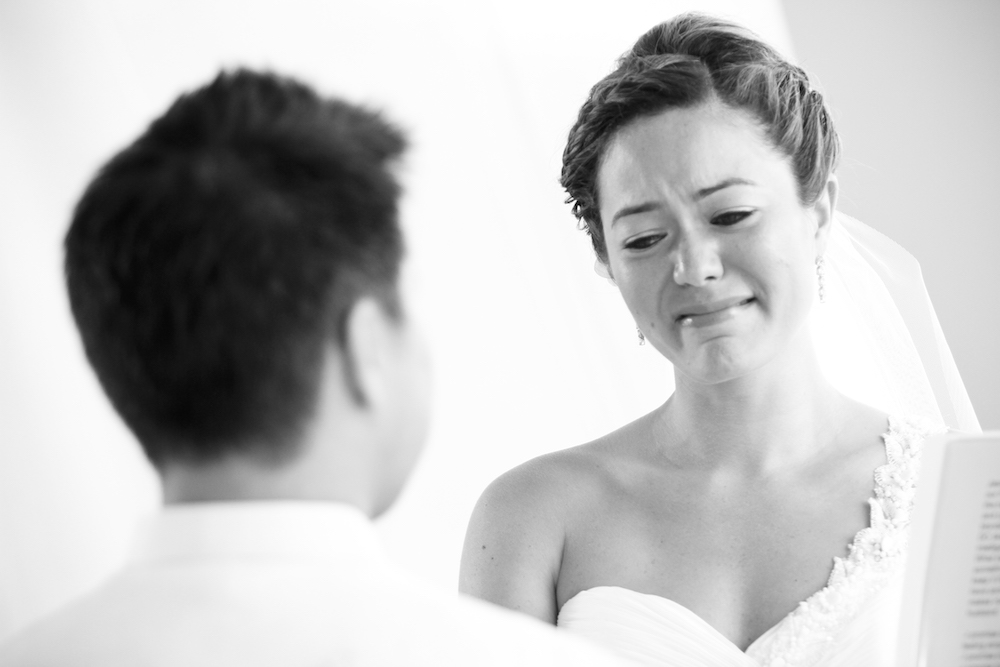
Look at the emotion on above pictures, if I were the groom than I will always see this moment for the next decades and love my wife till the end. I’m enjoying so much to shoot on expression and mood like this and it blown my mind away.
Wedding Photography Tips for Beginners During the Blessing Ceremony
When you shoot for blessing ceremony than you may consider to follow my tips to get better image result, take a look for some cool tips below:
- Never put your camera off
- Try to sniff and predict for the great moment, you definitely need practice for this
- Set your photography gears on ready to shoot mode
- DON’T EVER look your LCD too often, you gonna lose moment for sure
- Flow with the moment
4 – How to Shoot Couple Portrait
Some wedding also separate the blessing in the morning and party in the night but if these two main event become one than usually you will have a short time for taking a couple portrait. In my case, while all the family member get a cocktail party than I will ask my couple to walk with me around the resorts for couple portrait.
I will recommend you to put tele lens on your camera like Nikon AF-S NIKKOR 70-200mm f/2.8 or similar and fixed lens like Nikon AF-S FX NIKKOR 50mm f/1.4G or similar since it helps you to provide great image after all. Go find some references about couple portrait pose and improvise with your own style.
To learn more about posing than you can ready my previous article about 10 Simple Wedding Photography Poses for Newly Photographer.
5 – How to Shoot on Wedding Party
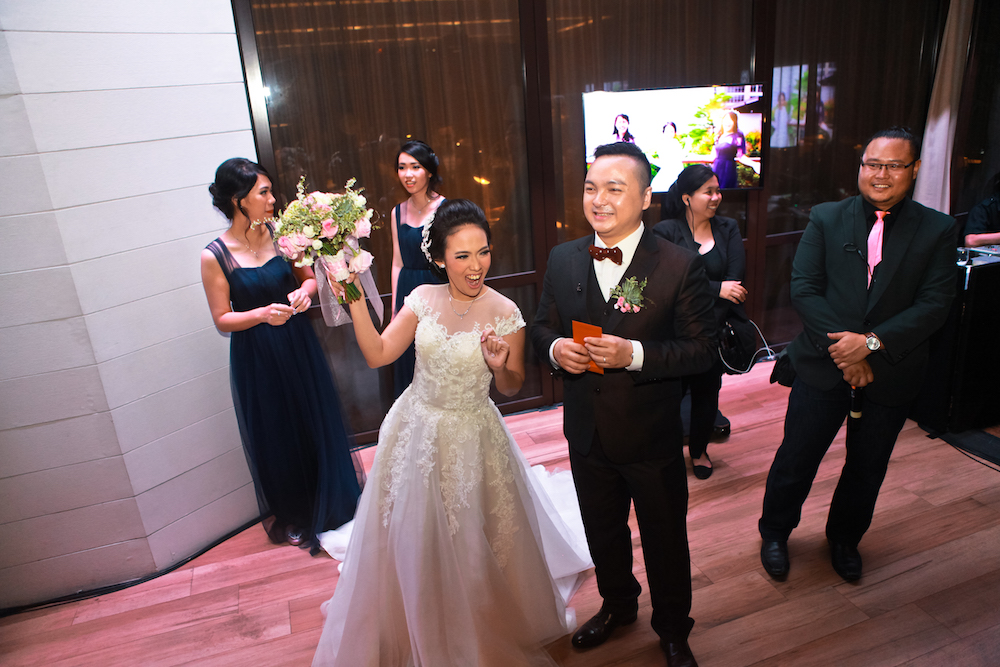
It’s time about shooting on the wedding party and I sure that you will love this scene so much. Wedding party generally is a moment which full of fun so you can shoot in free style and deliver a story that consist of joy and happiness to your couple.
The only way to capture nice photo on wedding party is, keep your self enjoy!
Just flow with the moment,
Having an ultra wide lens like Nikon AF-S NIKKOR 14-24mm f/2.8G ED or similar will help you so much during the party even though you are also can consider to have a medium lens like Nikon AF-S FX NIKKOR 24-70mm f/2.8 because it has a perfect range for shooting the whole moment with one lens.

When you hear a beat music than try to make a little dance on your body, let’s smile and laugh together with your couple. Please remind to keep as professional as you can even you can enjoying the night together with your couple and their family. In fact you are here as wedding photographer and you got your own duty for capturing prestigious moment that you must deliver once this event is over.
6 – How to Shoot Family or Group Photo
It’s number 6 and here we gonna talk about family or group photo during the wedding. Shooting for family is a must and you must shoot both for the groom’s and bride’s family for the first scene including brothers, sisters, uncle, aunt, or even the grand mother and father. Once you get this part done than you can continue to shoot for another family member or friends who attending to the wedding.
When you want to shoot for family or group photo than you must consider to put a medium range lens or similar like Nikon AF-S FX NIKKOR 24-70mm f/2.8 which belong to my favourite lens. With 24-70 mm range than you can get a clear shots for family or group photo shoot without any worries at all since this lens is perfect for any condition.
Set as a Classic Photo
When you want to do a classic family photo than the easiest way to do it is asking for all the couple and their family member to stand and line up, just make sure that you can get all their faces so don’t let anyone covering each other, here is the sample below.
Find a Unique Spots
Once you set all the family member on a classic pose than you can ask some of them to join for another group photo in such unique spots. Don’t worry about it because I believe that every wedding venue like hotel or resort will have some unique spots where you can going in.
This below photo is an image where I shoot for a small group photo right on the coral reef, so what I’m doing here is asking my couple and all bridesmaid – groomsman to walk up into the coral and I shoot them all with my Nikon AF-S NIKKOR 70-200mm f/2.8 lens, check this image below.
7 – How to Do Post Production Work
This seventh wedding photography tips for beginners seems to be most favourite for anyone since now we talk about post production work. Since we live in a digital era than post production seems to 50% of our work so learn more about it will matter for your future.
I personally love natural post production by using Adobe Photoshop or Lightroom and yes sometimes I did a digital imaging if I think that there is an object that really disturbing my photo but generally I will only adjust for few things below:
- Level or exposure
- Saturation, and
- Contrast
If you just begin your photographer career than using the Lightroom will so much easier than the Photoshop because once you get a typical existing file than you can copy and paste for your Lightroom setting into another photos. Another good thing about using Lightroom is you can use the presets which gonna be make your post production work run faster.
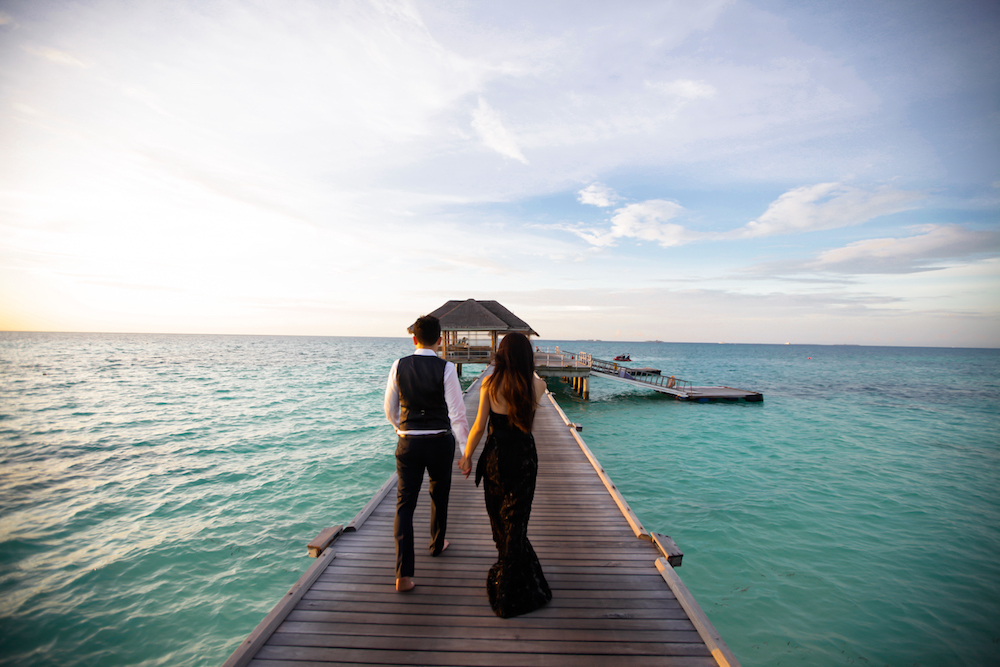
When you consider to have a Lightroom presets for retouching your photos than you may check my Maldives Unveiled LR Presets where you can use it for retouching your wedding photos and all the moment surrounding the event.

8 – How to Design and Preparing Your Final Album
My last wedding photography tips for beginners will ended at designing and preparing the final album, even I know there are so many photographers in this digital era only give files to their couple but I have a best quote for it that gonna telling you,
There is no photographs till it’s printed!
Here we talk about wedding and not about selling your photo on microstock company and since wedding talk about memory and moment than there is no other way to deliver these 2 important things except printed album with a nice fine art paper.
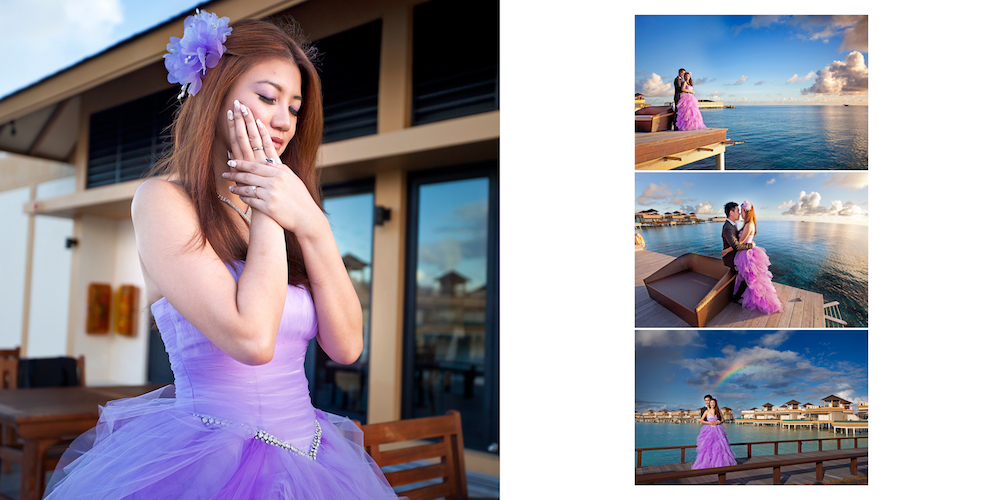
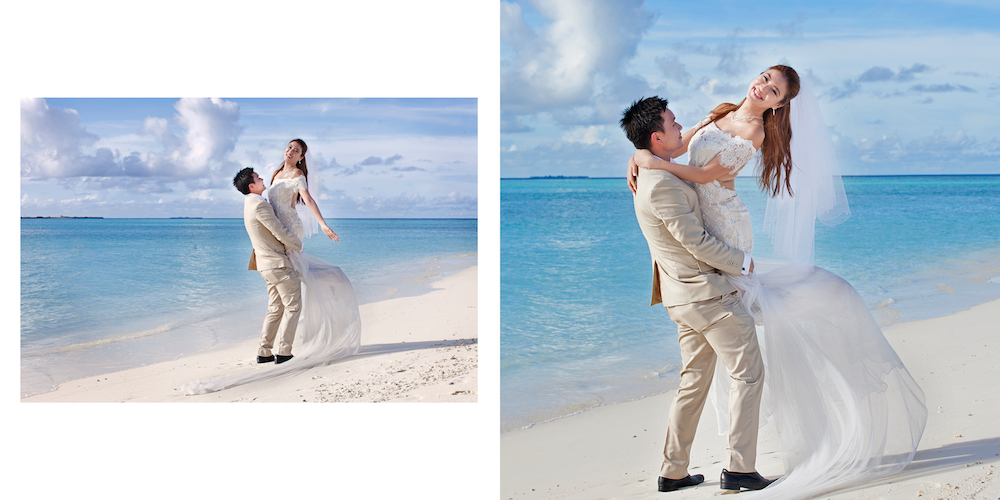
Kindly take a look for my previous engagement album below,
5 Simple Tips to Design and Preparing Your Album
Now I would like to share some tips about how to design your final album properly, it’s gonna be fun for sure:
- Don’t put too many photos in a page
- Show only your best pictures that deliver great stories
- Concern about best fine art paper for making your album
- Simple will be better, and
- Don’t be afraid to show your photo in a album even sometimes it will take 2 pages
Album Design Sample
Down here I will show you my previous album design,
Disclaimer
This post containing an affiliate links which means that if you making a purchase than I’ll receive small commission from Amazon associate without any additional cost from you. If you would like to view my disclosure policy than you can see HERE

