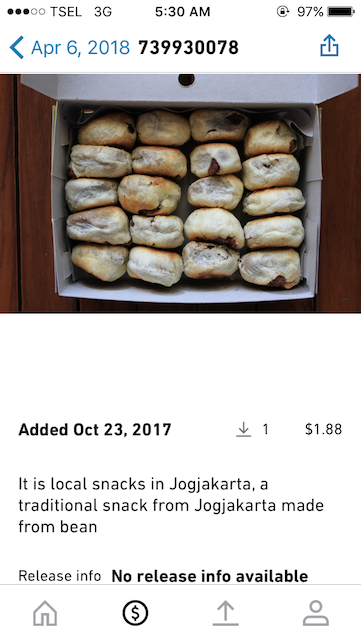
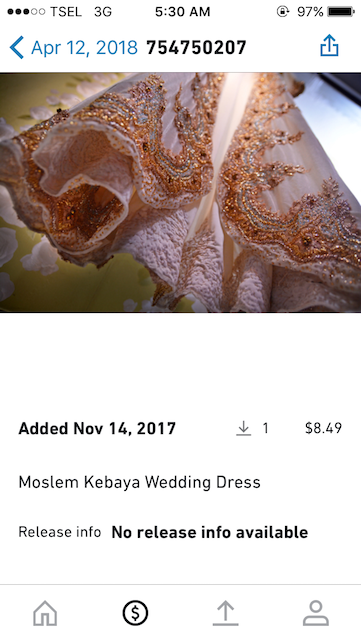
I always wondering to have a DIY photography studio box in my home but it’s really hard to imagine how it’s gonna be look like and what kind of tools that I could buy in cheap. Hi photographer my name is Bima and thank you for coming to my blog and I hope today I could deliver great information for you who wanna shoot for stock images or practicing indoor photography in a cheap way. Running a wedding photography business since 2009 make me able to shoot incredible moment but when I’m done with the photoshoot I was stuck with thousand of files I save in a hard drive till one day I will erase them all and feel disappointed by doing that.
I know that buying some cloud service will be the answer but that is not the reason why I worry about. 2 years ago I was looking for some ways about how to make money by selling photos online till I finally know about Shutterstock.
It might be long article mini product studio and creating your online income stream through selling stock images but I want to share exactly about how you also can make cheap DIY photography studio box by using any scratch or ridiculous things that you could find on your home.
Steps to Create Your 1st DIY Photography Studio Box at Home
In fact, on this Covid-19 quarantine all of us are not allowed to go outside for buying some tools so what you gonna do is finding the most simple things on your home or buy it online.
1 – Find Some Free Spots at Your Home Corner
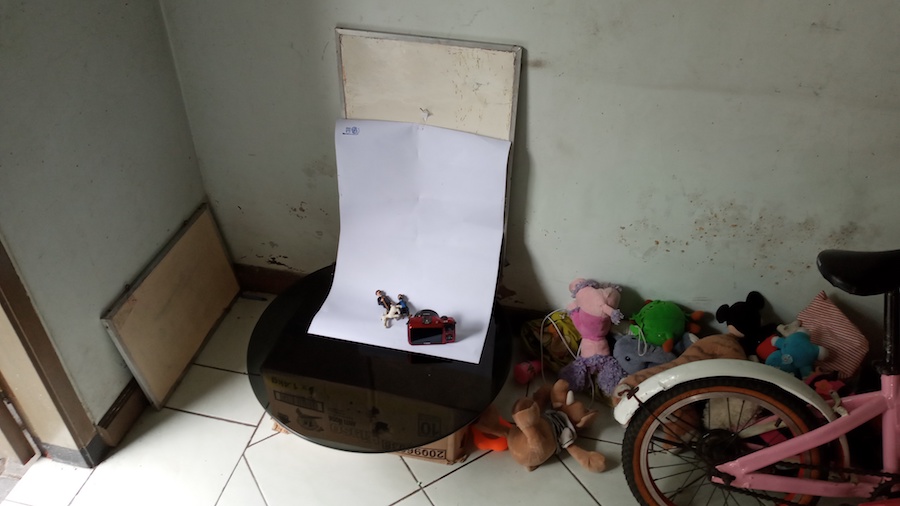
To shoot some stock images that you could sell you definitely don’t need a huge space because her I only use 4 sqm space just next to the door that connect between an indoor area and car port. As I said before if you have some materials and tools at your home than you can use it but if you don’t have a chance to buy it all on your nearest store than you can buy online through Amazon. So after I got small free spot in my house than I try to set it up as a DIY photography studio box where I can shoot something.
You can use a large paper that you can bend for background and photo layer base, actually I only have a small one but here you might consider to buy this paper rolls
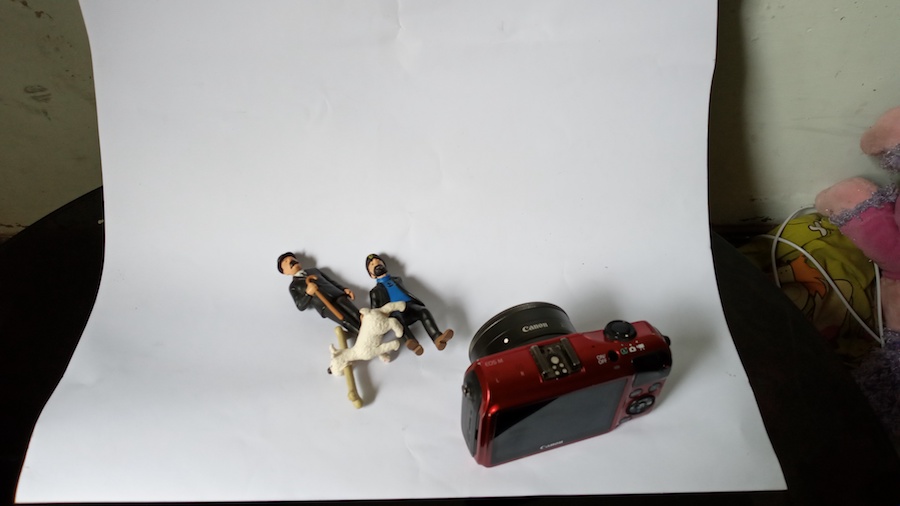
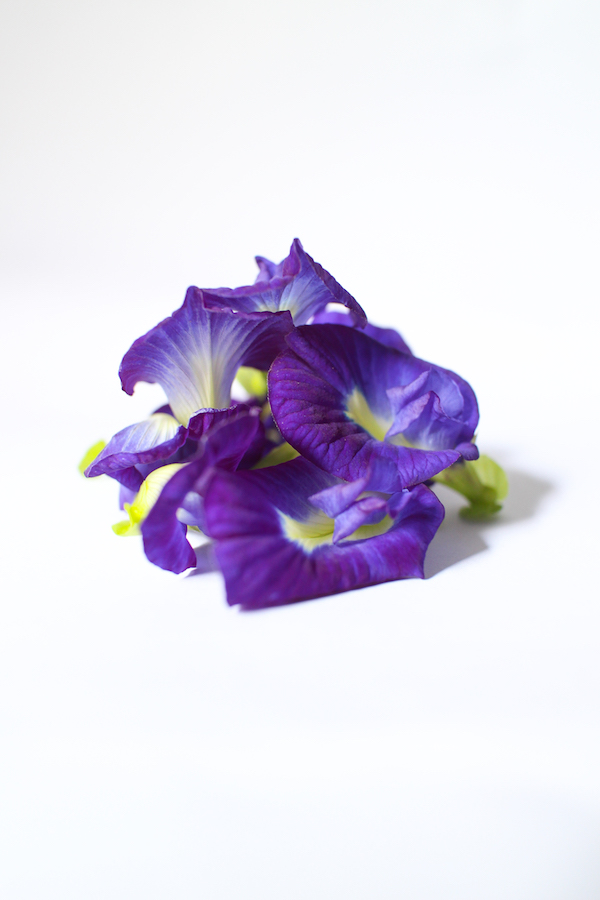
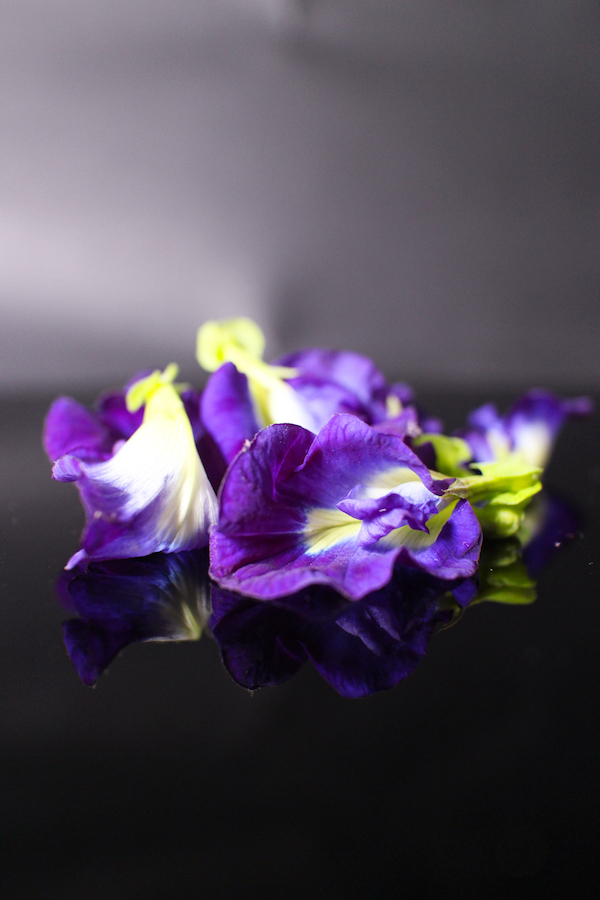
Just look at my set up below so you can have some impression about how it’s gonna be look like. You may laugh by seeing this ugly DIY photography studio but yeah I couldn’t find any better place in my house during this first trial but I wanna give the best that I can do during this home projects so I can shoot everything that I found like butterfly pea flower, my kids, toys, till coffee bean that I had in my kitchen so I finally got this photos.
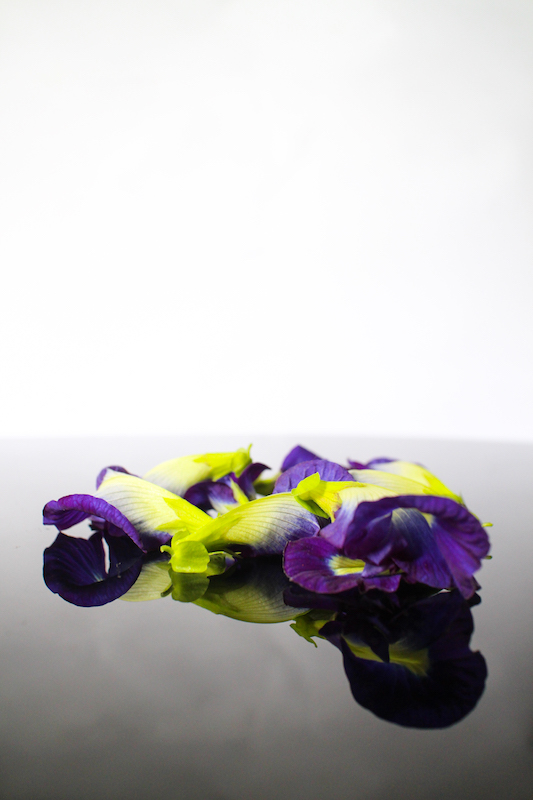
Just look at the black glass that I put on my mini studio, it’s not only for layer base but also cheap thing to create unique black mirror effect on your photo, just see the middle photo of butterfly pea flower above.
If you think this kind of photos inspire you as well than I will telling you all of those 3 photos above is,
100% using available light!
2 – Forget Your Free Space and Just Shoot on the Floor
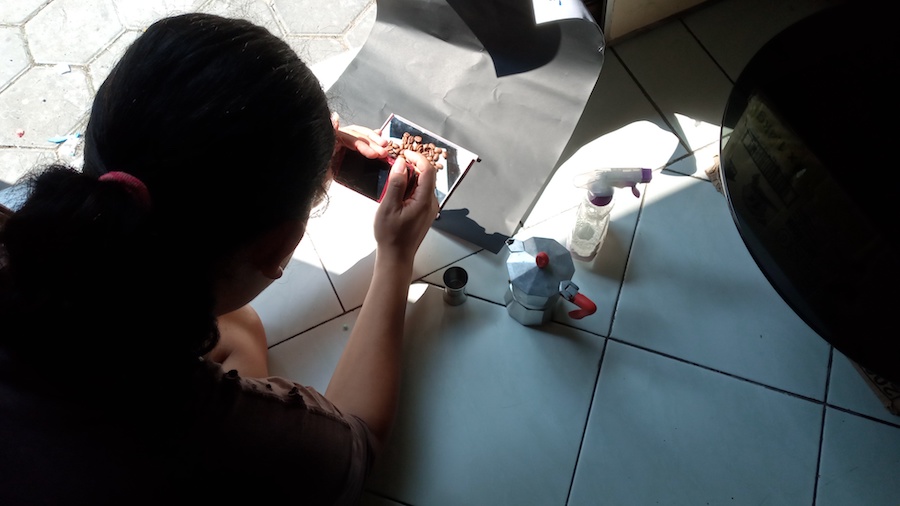
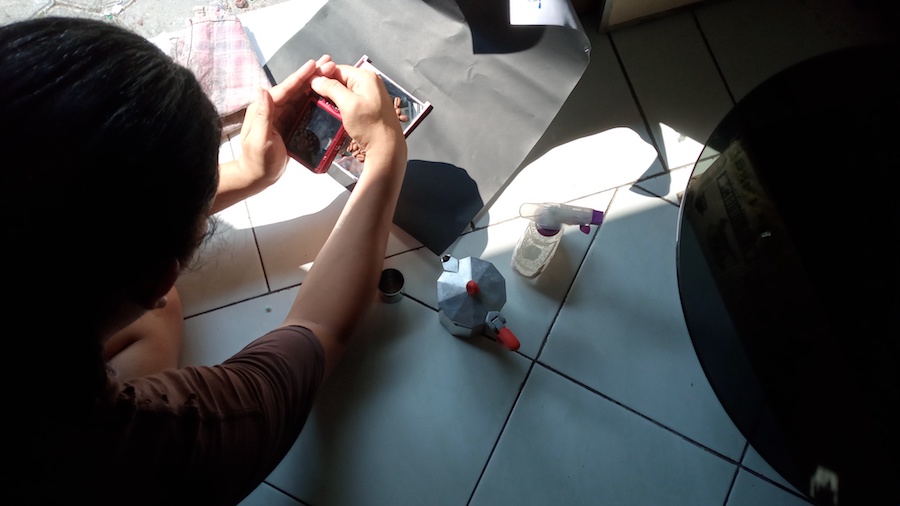
Shooting at your home floor tile is a good idea too because it is steady and will give you good reflection light on your object. At this second spot I sit down on the floor, put a piece of black paper layer than using any make up mirror to create photo reflection. Shooting like this is quiet challenging because you only can make a photo if the sun shine properly, due to my case I only shooting like this during 8 to 10 am.
You might consider to have these two things,
Paper Rolls, 48″ x 200′ Size, Black
Black paper is cheap material to reduce the lighting power
Feruaro Travel Mirror
You may use your wife’s mirror too, LOL!
3 – Creating Your Own DIY Photo Box
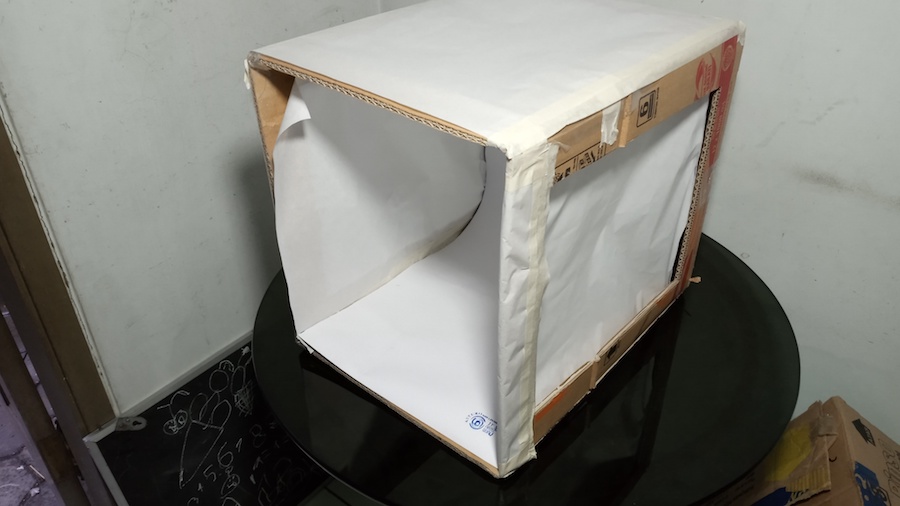
If you want to shoot products with a nice and shine result than you can use white background. To realize your dream than you may buy some photo box or you can make it by your own, again and again I wanna show you how to make your own DIY photo box by using any simple things that you can find at your garage.
Things that you need to provide to make this photo box are:
- Used box
- Scissors
- Pen
- Ruller
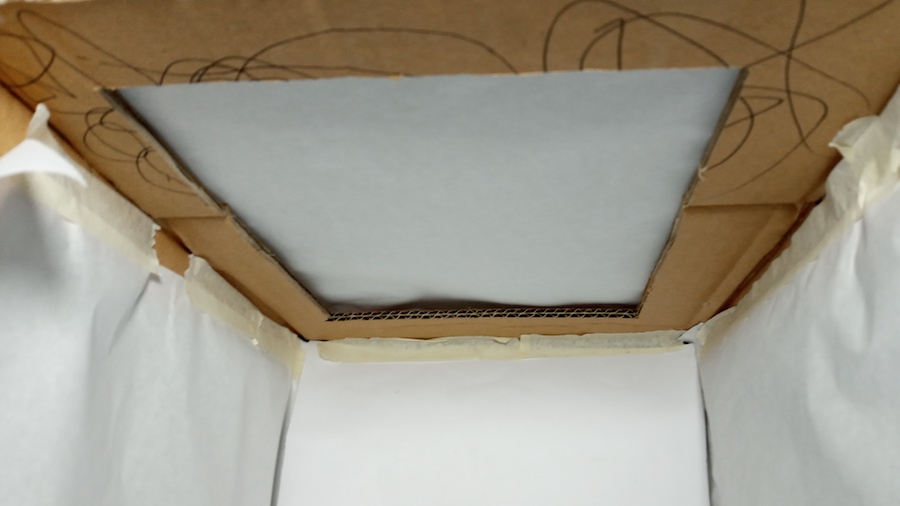
- Any paper that can diffuse the light – use Tracing Paper
- White paper for layer and background – use Melissa & Doug Easel Paper Rolls
- Tape
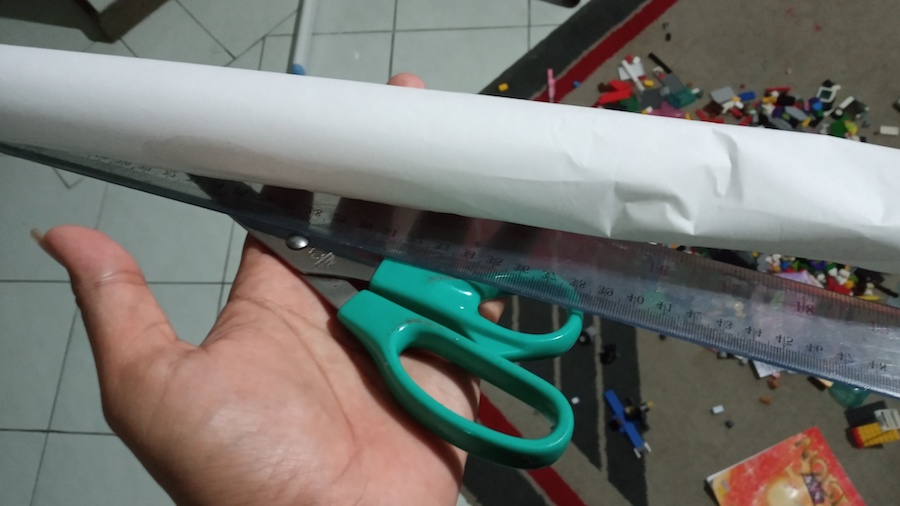
And this is step by step to make your own DIY photo box,
- Cut 3 side of your box into square form
- Put the tracing paper to cover that hole and tape it
- Put your white paper as a layer base and bend background, and
- DONE!
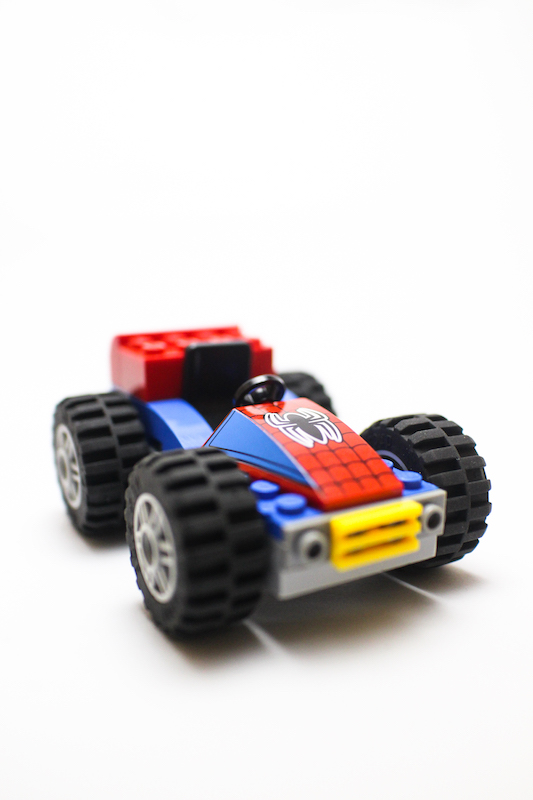
than I’m gonna show you the result,
Pretty nice result for damn cheap materials!
It is so true that I try so hard to make this photo box and I know that some of you don’t have enough time to make it at home so after this I will share some links where you can buy cheap photo box from Amazon that you can use for creating stock images….and surely it’s better than mine!
Shooting with Artificial Light
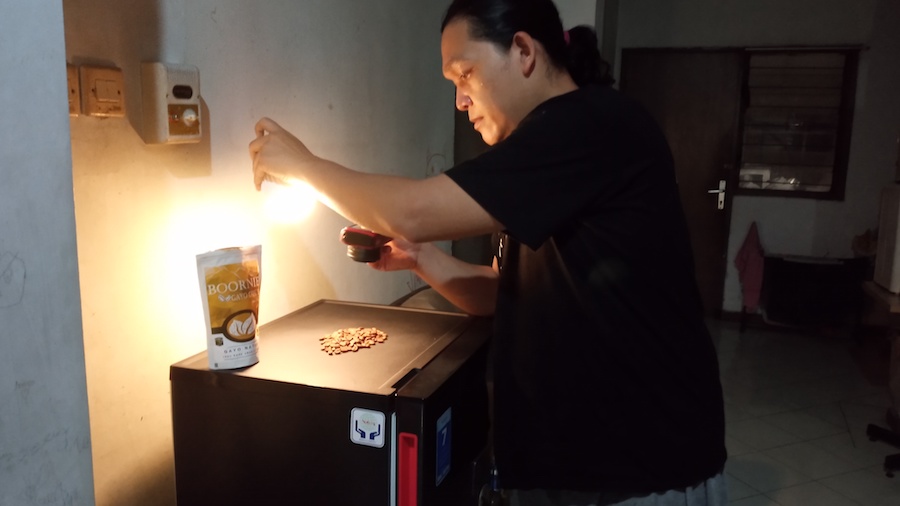
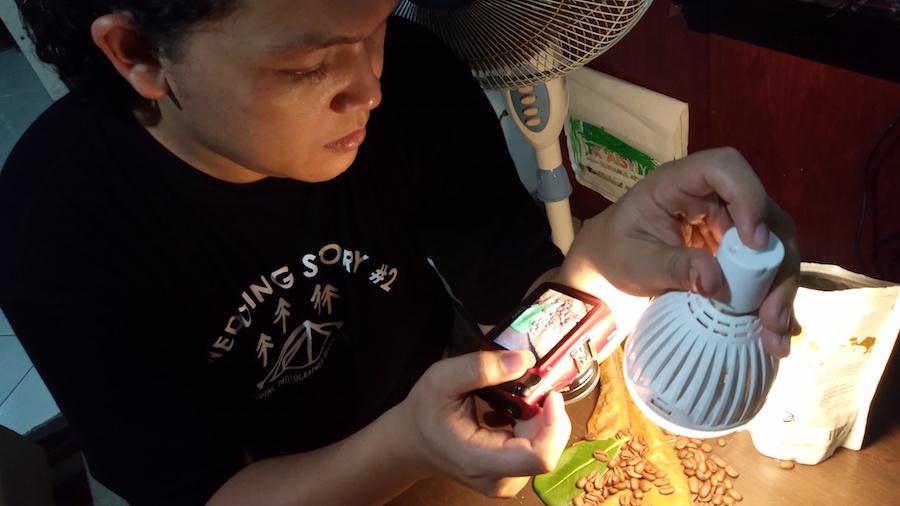
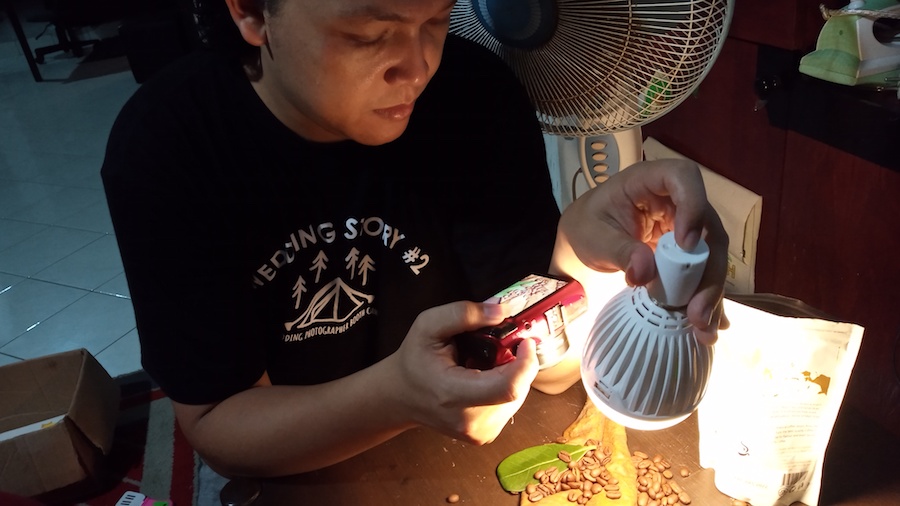
I told you that I’m an available light maniac, surely I love it but it doesn’t mean that I don’t wanna shoot with artificial light because sometimes it is also interesting to try. Here in my house I don’t have any assistant so I ask my kids to help me by holding an LED light right above the objects, in other words I pay those assistant with love and great food, LOL
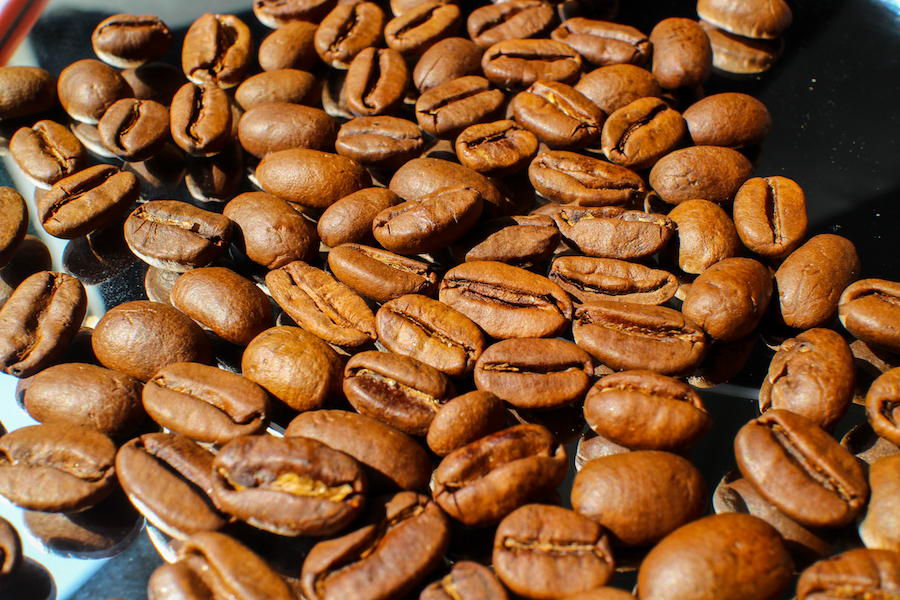
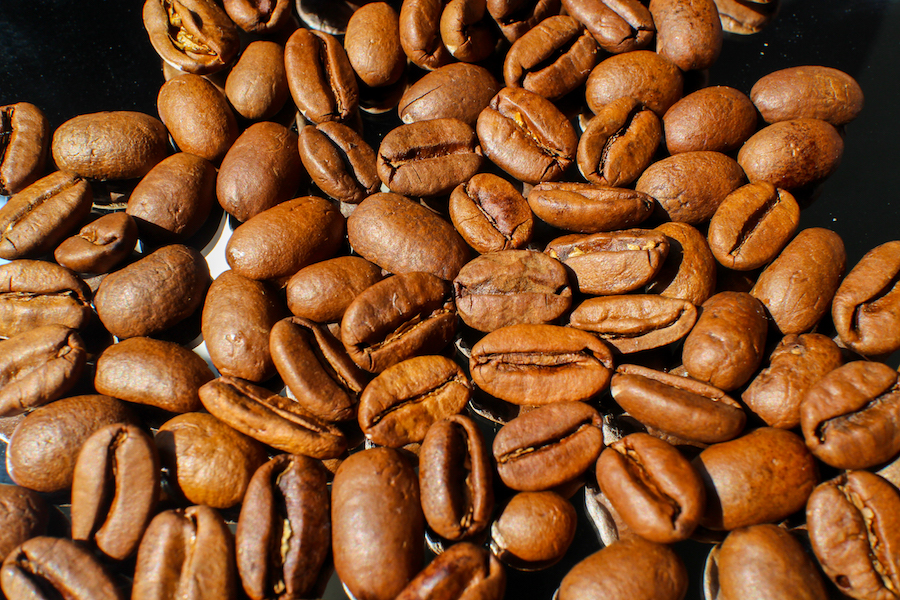
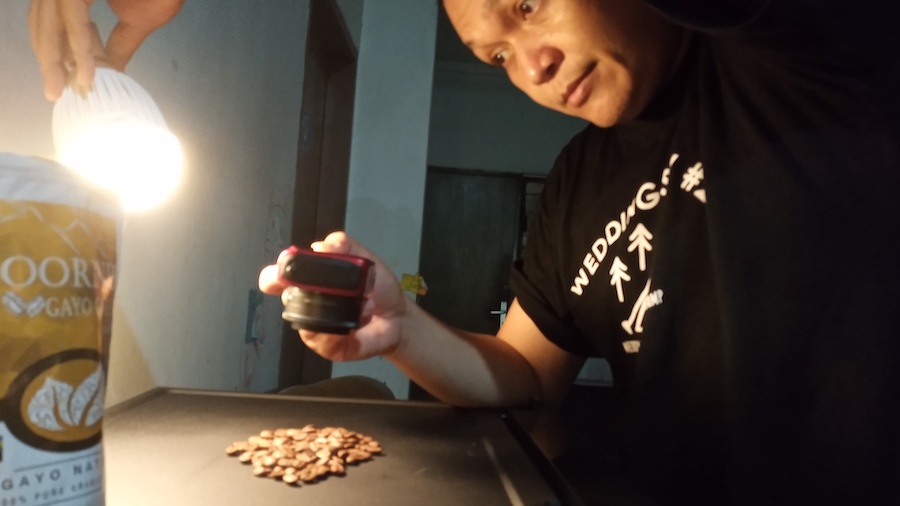
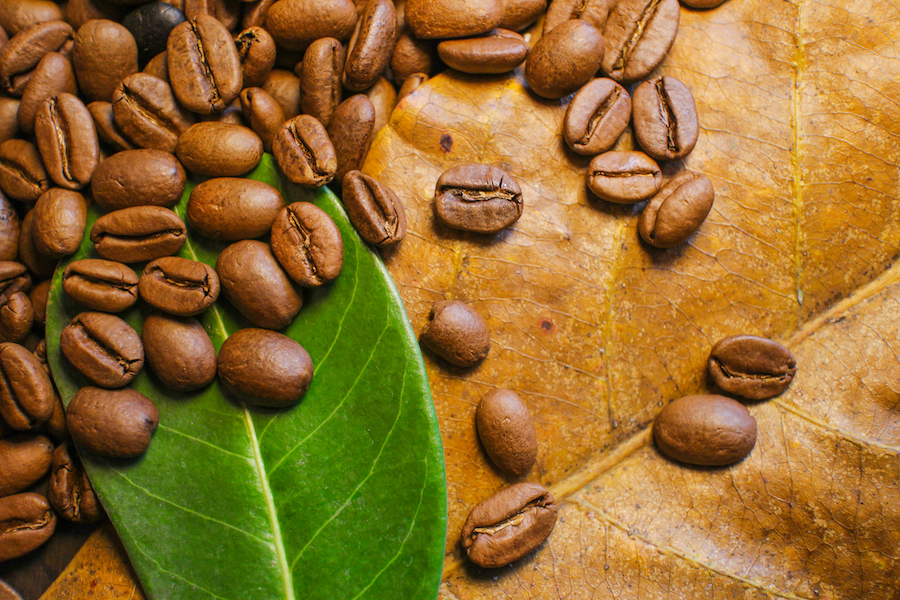
Now I’m gonna show how I shoot with an artificial light for simple object that I had in my house and this is the coffee bean. I put some leaves from my garden and use it too for accessories so I can make a cool images that “hopefully” can sold as soon as possible. I’m so blessed to have black fridge that come with great textured materials so I can put my coffee beans on it, hold the LED light with yellow filter, and shoot it at the same time. It was so tricky but I think I still can make a great image from this.
Hope you enjoy the result,
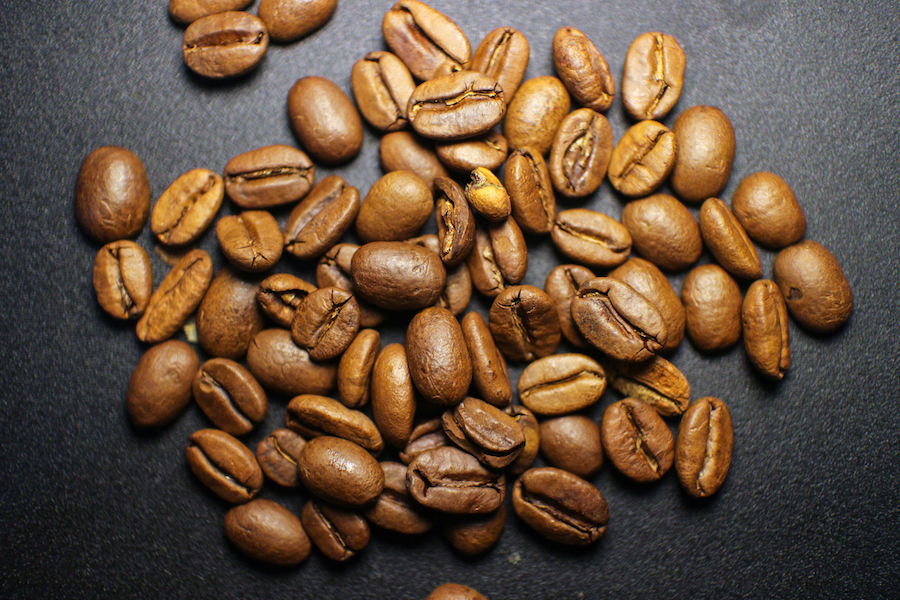
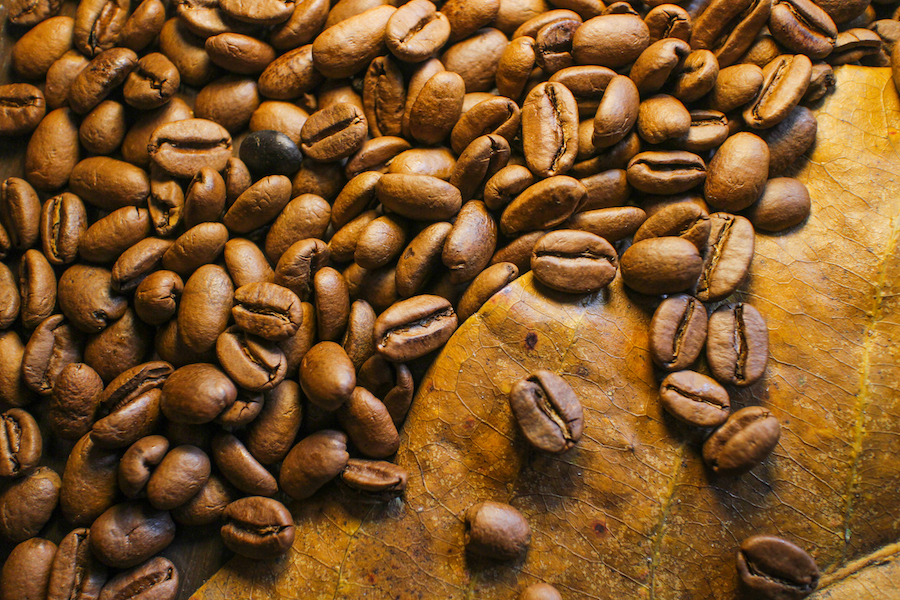
I wanna make another set up for shooting my coffee beans and this is how I did it and got this interesting image,
If you see my behind the scene above that I shooting with my 1st generation of 1st Generation of Canon EOS M and LED light with yellow filter. This LED light is very useful and just in case you can’t find the same lamp like I had than you can buy it on Amazon but the most important thing that you must remember is those lighting set must be able to provide with the yellow light set.
Let me give you with some recommendation below,
Gears That I Use,
I was shooting with simple and and cheap photography gears, it is seriously cheap and you can buy on Amazon. I bought this camera in 2014 compliment with 2 lenses and 1 small flash that I rarely use since I’m an available light maniac.
5 Reasons Why I Investing My Time on Stock Photography
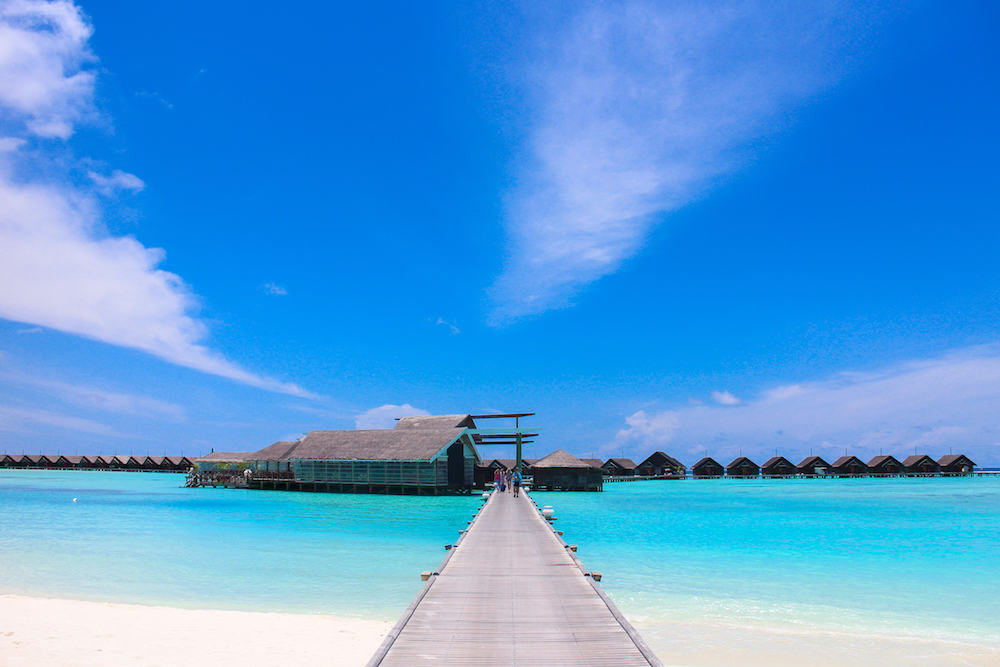
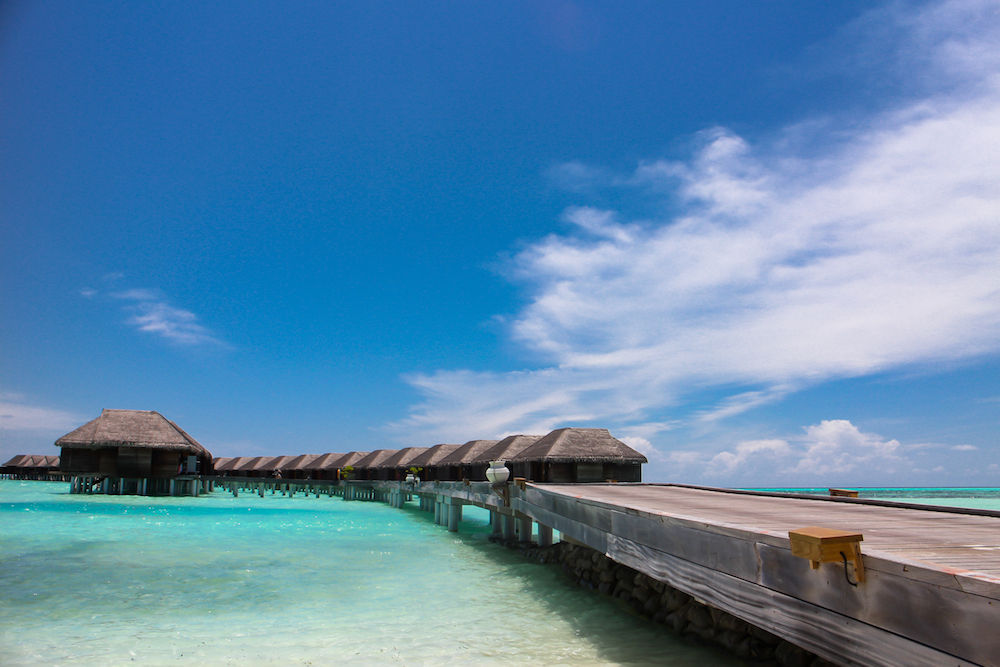
Stock photography is one great invention on this industry no matter who you are and what kind of niche that you working at, as I told you before that I’m a wedding photographer and this is what I’m doing since 2009 till now but working in photography business will bring us into so many experience like shooting for travel, food, culture, and more. When I travel for pre wedding or wedding than I will get tons of beautiful image from the country that I’ve been visited like this picture below that I got in Maldives for pre wedding shooting.
When I’m back home and doing some post production through my wedding images than I will spend my time by using my Lightroom preset till designing the album but when everything is done I don’t wanna spend the whole time just to watching movie or stumble upon on Youtube so I was thinking to make a photo shoot at outdoor area or simply using my own DIY photography studio to create some cool images.
Do you know how much money of royalty that I got for selling each of my stock photos?
It just $0.25 at minimum!
It is small money even I can’t buy a Coke in a can with it but what I’m concern is about creating passive income for my future and generate more money even when I sleep. When I join some group of stock photographer, I finally know that someone out there are able to earn thousand of dollars by selling thousand of images every single month. As I said before that $0.25 is just the minimum payout but you surely able to earn more when your photo is quite unique or base on demand due to customers.
As a contributor I know that I’m not that best because I only can sell up to 3 images in one day and hell yes sometimes I got nothing no sell in few days but I will not stop doing this because I know that it gonna be something big someday as long as I keep learning and open my mind to any suggestion from the seniors. So if I can share to you 7 reasons why I still keep investing my time on this business than this is why,
1 – My Imagination is Bigger than $0.25
I got plenty of images that bring me $0.25 for each download even some photographs also sold for $0.88, $1.88, and around $8++. Some seniors of mine are already can make a big load by earning over than $20 for each download and the most important thing is not about that money but how if we can make thousand of sales for each month,
Than this hard work will put a smile on my face
Einstein also telling us that imagination is way more important so if you are a person who interesting with this niche too than trust me if you working so hard on it and it gonna bring you a life freedom someday. Imagine that you can work anytime and anywhere than you will still earn money even you are on traveling period with your family or lovely friends.
2 – It’s Gonna be Great Digital Assets
Every photos that you’ve made will provide you with several advantages, surely it already bring you money to bank account but how about if those pictures will still able bring some money again and again to your bank without any limitation of time. What I share now is about creating your future digital assets where you can monetize your art works over and over again.
You may know that our parens might be buy gold, properties, or land for their assets, when they got retired than that can built a home on that land or sell their properties if they willing to have money saving on the bank and it’s simple as like that when you creating your own digital assets.
It’s not for now but for your future!
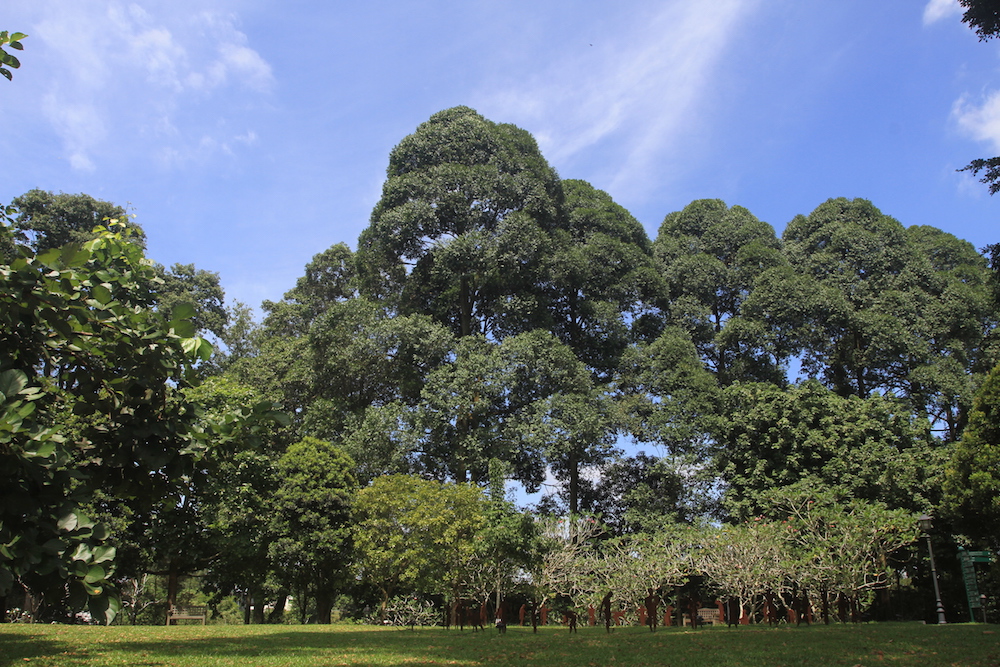
I was taking this beautiful big trees in Singapore botanical garden and if you ever go there than there is a nice and quite vegetation corridor where you can walk while sightseeing around the park. If you surrounding than you will see a huge land grass with nice big trees like I had and yes! this photo already bring me a cash into my account.
3 – What’s Better Than Enjoying Your Day and Make Some Cash in the Same Time
Can you think about it?
What’s better than you can enjoying your day while making some cash in the same time, I sure that million of people will love doing this but only few people who gonna work so hard to realize this kid’s dream. $0.25 per download is really cheap but if we think beyond it than it will bring leisure in our life. Both between me and my wife are love traveling, we can save our money for buying some stuff like new shirt or jewellery and spend it for holiday because the fact is both of us are still wear our old t-shirt that we bought 3 years ago and yes we keep doing it till now.
There two thing that we love for the most,
Travel and Food!
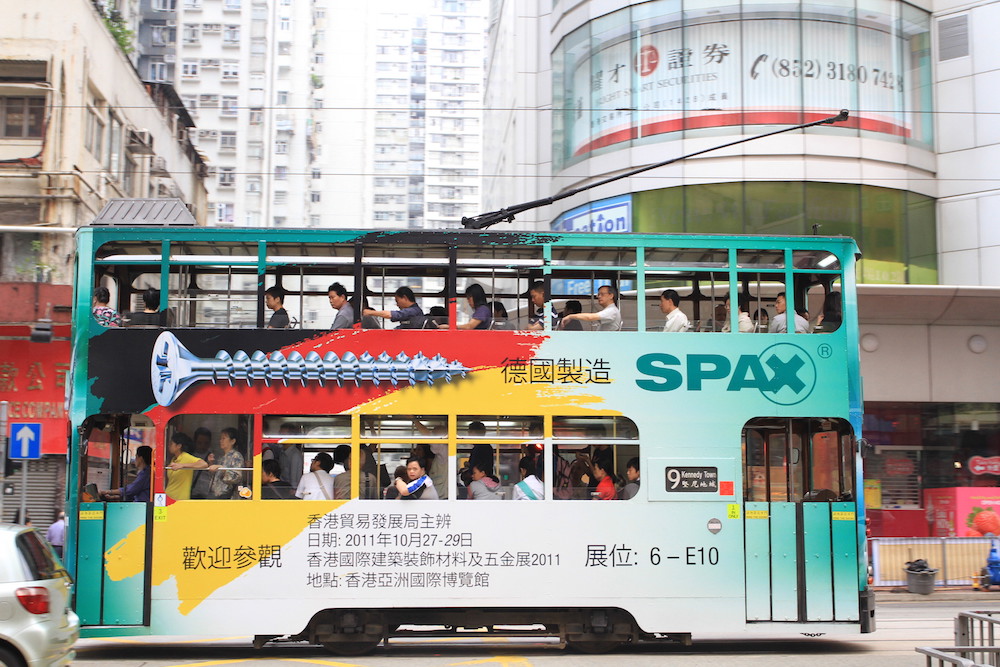
That’s why in this blog I will also share my travel journey following my photo session like what we did after taking a 10 hours of winter portrait shots in Hong Kong. Since we still have one last day before we back to our country than rather than sleeping at our hotel and just doing ordinary life so we choose to walk around the city and exploring local market in North Point, ride the old tram to Causeway Bay and buy tasty grilled octopus for HKD15, and eat fresh mango pudding at Hui Lau Shan, it is best local eat in Hong Kong.
4 – Monetize Your Photos is Way Better Than Keep it on the Hard Drive
Are you able to make money just buy saving your photos in the hard drive? BIG NO!
But by become a Shutterstock contributors and uploading your photos you may wondering to earn some cash in real through it. Surely here in this platform you can sell ANY PHOTOS that you have starting from taking a selfie photo till selling some artistic image like what I share before. If you are a food madness and love cooking at home than before you eat your meal than you can take a snap photo for a seconds and sell it on Shutterstock.
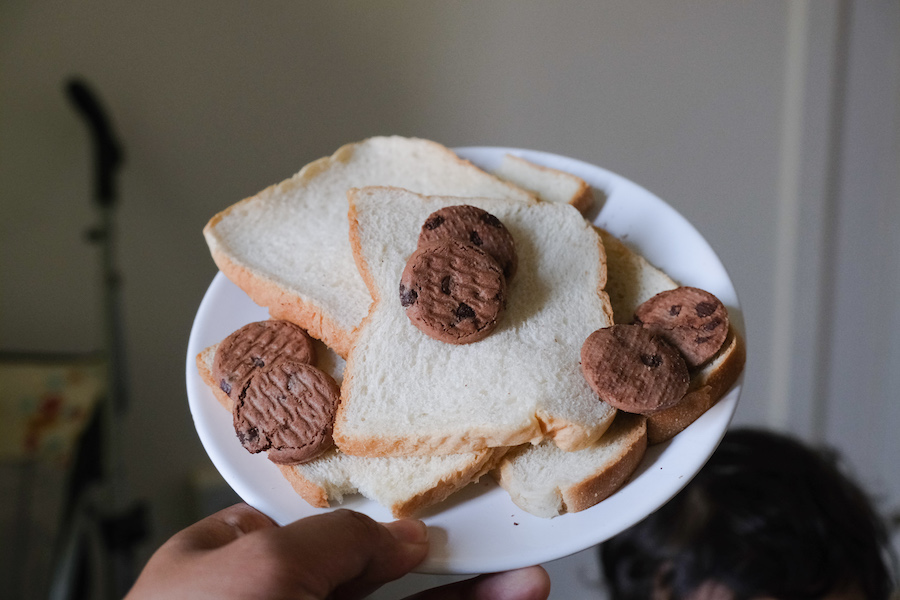
By the way I bought this bread and cookies at 7 Eleven store nearby my apartment in Singapore, it was a har rain during those day and I get sweat by walking into that store just to buy some snacks and food for my wife and kids who already feel hungry. Just by holding this plastic plate with my left hand and shoot it at the same time with my right hand than I could create a stock image that bring me some cash.
Let me show you other meals that I bought at local restaurant in Singapore,
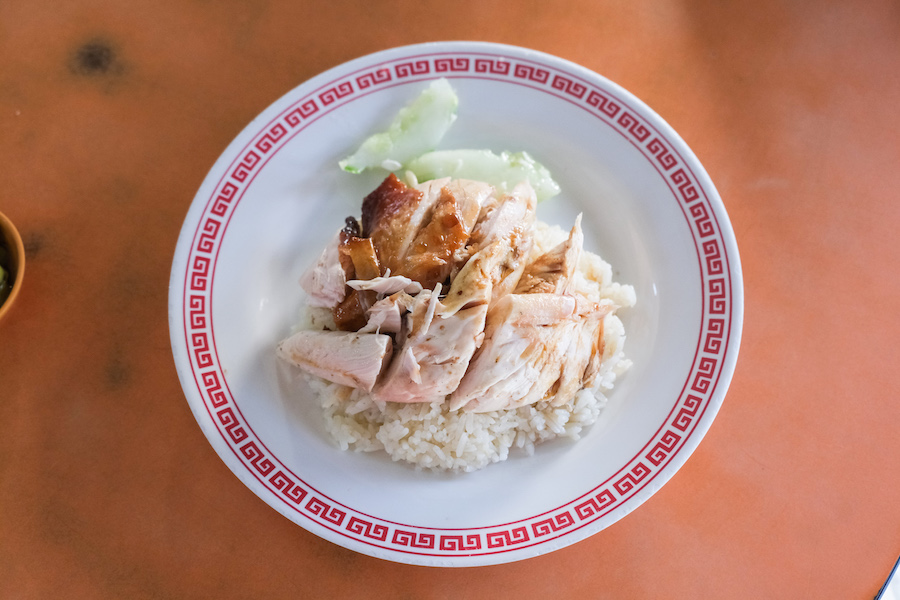
Surely I post this tasty chicken Hainan rice on my Instagram just to let my friend know that I eat good food in Singapore but that’s not my real goal because I really want to earn some cash through this photo and yes again and again this photo continuously deliver dollars into my account.
5 – It’s Real Future Investment if You Love Photography Just Like Me
Become a photographer is not a big deal and in fact so many friends of mine failed to stick on their photography business just less than 5 years. It seems to be cool at the first time you hang up your camera but when it become your job than you must thinking about bills, tax, and so on that make your day become more complex. Rather than working so hard in this business I saw many friends starting to apply for some job and back to their common life by working at 9 to 5 office hour and get traffic jam when they coming home.
As a photographer and photo madness the only thing that you could bet for your future is the photographs it self, you must think how to make money over and over again through it. It definitely needs a creativity but as long as you keep trying than you gonna find they way.
How to Start Selling Photos on Shutterstock?
It gonna be the last chapter that I will share on this post today so after you got some inspiration about making cheap DIY photography studio box and see how I shoot for stock image on the behind the scene (thanks to my daughter for doing this by the way) than now I’m gonna give you the steps for starting selling photos on Shutterstock.
1 – Sign Up Your Name as a Contributor
Don’t worry, it’s always free to sign up your name as a Shuttersock contributor and there is no target that you must achieve by running this business. Just same as when you sign up for Facebook or Instagram but here you must provide your tax identity and payout method. When I sign up about 2 years ago I was asking to provide passport too for standard verification but now you can try for this part.
2 – Start Shooting and Collecting Your Artworks
Here you may shoot for brand new stock photos or simply take your old photos that can be upload. Just for your kind information, I was uploading my previous photo back in 2011 when I was joining as a contributor and it doesn’t matter at all as long as your photos fulfil their requirements such as:
- Must be at least 4MP image quality
- No noise, using lower ISO setting will help you to do this
- Sharp and clean
3 – Do Simple Post Production
It’s not a MUST THING TO DO but when you can improve your photo from just an ordinary into extraordinary one than it gives you more chance to make your photos getting sold. I love for doing post production by using my Lightroom presets because it is simple and fast. My suggestion is edit your photos as natural as you can because somebody who gonna buy your photos will use it for their blog, news magz, or any platform that really need natural photos.
4 – Smartphone is Fine too
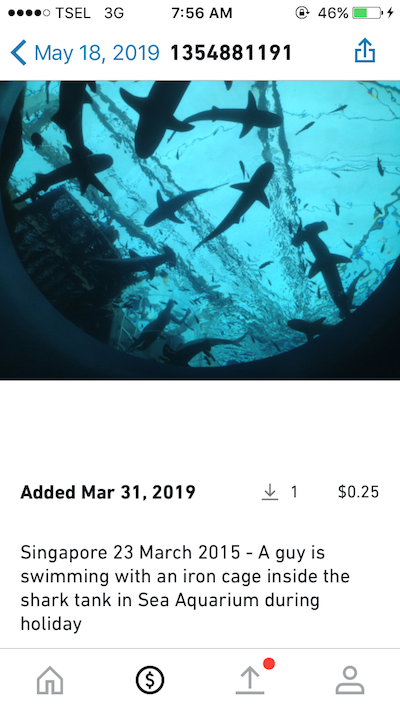
The beauty of selling photos in Shutterstock is your buyer don’t really care what kind of camera that you gonna use, as long as they get fine image than they gonna send you the money. In this case you also can use smartphone to make some photos like when I share about how I use Samsung Galaxy A10s to create stock images. Look at the picture below, it’s a shark conservatory tank in SEA Aquarium Singapore that I captured by using an old iPhone 5 than directly upload it into my account by using Shutterstock for Contributors apps.
Iphone 5 is an old gadget that you can buy for less than $150 but as long as this camera still able to make great photos than Shutterstock will approved your photos.
5 – Decide Your Photo as Commercial or Editorial
The first thing that you must concern is about your photos status, are you gonna put your photos on commercial or editorial images and how is the differences.
Commercial is an image that your buyer can use for commercial needs which is mean they can monetize your photo to make some cash. In other hand we also talk about editorial photos which is mean than your buyer only can use it for information or news like magazine, blog, or similar platform. The most common requirement when your photos must be in editorial mode is when you got people face or brand logo on it, you can make it as commercial if you can ask for permission or release from the object but if you are not able to get the release or permission that you still can sell those photos as an editorial.
Editorial 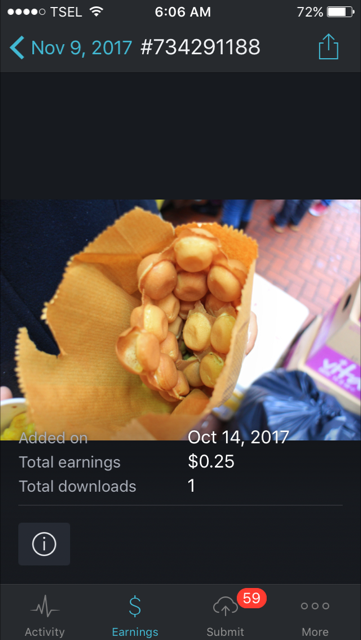
Commercial
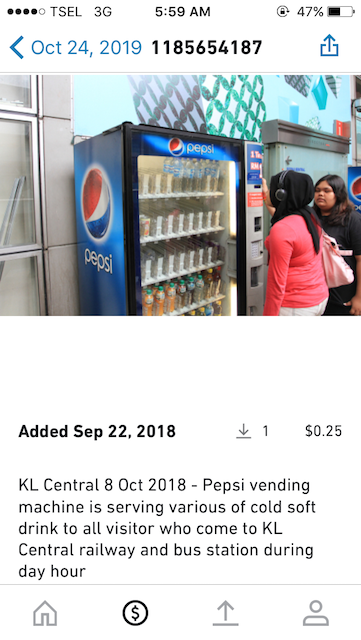
My left photo is a vending machine where there are two women next to it, my problem of set it as a commercial photo is there is a woman with black shirt that look at me so everyone will be able to see her face. By the way I took this photo in Kuala Lumpur so I can’t ask her for permission or release, to make it as simple as I can than rather than asking for release it would be better for me to set it as editorial photo.
Now you can look at my egg waffle photo in the right side, there is no people’s face or company brand on it so I can put it on commercial photo and my buyer all allow to use it for making money or similar reasons.
6 – Give a Right Description
Description is really important because this is how your photo will get notice from potential buyer. You can put up to 200 character to make great and informative description but as long as you feels that you already give the right impression for your buyer than it’s quite enough. In my personal suggestion your description must be:
- Informative
- Clear
- Able to tell someone about your photo information
Now look at the example below,

When I want to sell this tasty lunch that I ate in Bubba Gump Hong Kong that I sure that there is a company logo on the wooden table so I must put it on editorial mode, and this is how I make a description on it.
“HONG KONG OCTOBER 2011 – Waiter is serving delicious fried shrimp menu in a plate during lunch time in Bubba Gump restaurant”
And when I wrote about this topic today, my lunch photo is downloaded from Joinville, Brazil.
7 – Put the Keywords
The last part that you must be concern before selling your photos is put the right keywords because both between keywords and descriptions are really matters in Shutterstock business. Still with the same example of my Bubba Gump lunch photo above than I will give you an example about what kind of keywords that you can use.
It will be: background, bubba, gump, hong kong, lunch, cuisine, delicious, rustic, restaurant, wood, wooden, yellow, and some more, here you can put up to 50 keywords in maximum.
Yes my photographer friends, as I said before that this gonna be my last paragraphs today, I hope you can get nice information about creating cheap DIY photography studio box and truly get inspiration about how to use that ridiculous box to earn money. It is pleasure to found you here and knowing that you read the whole information that I shared today. God speed brotha and I hope you doing great things in this period.
Cheers!


