When you own a small cafe or retail business than learn more about how to shoot commercial product is one good thing to know, through this way you can take a photo of your product with your self and reduce your photography services budget instead of spending it on your marketing or promotional budget.
Hi lovely people my name is Bima and thank you for visiting my page. As a wedding photographer who investing my photographer’s fee on Airbnb property and small cafe here in my hometown, I always developing new product to be serve to all my customers who come to my terrace coffee shop, it could be new drink menus or selling ingredients that I personally use on my coffee shops.
Through this way I also encourage my customer to be able to brew a coffee at their home, making a hot chocolate with just pouring hot water, or let they make a fancy drinks by selling some powders.
I know having a nice photographs of your products is really matter to give an impression to all of your customers so here in this post I will share to you about how to shoot commercial product with simply using a scratch instant noodle box. I just made this DIY box several months ago and use it regularly to shoot for stock images actually but now I also able to use it to shoot a retail product that I sell on my cafe, that’s awesome.
How to Shoot Commercial Product at Home
I know somebody take an awesome commercial product photo shoot out there and use professional studio gears like ESDDI Lighting Kit or similar but what I’m going to share today is a simple commercial product photo hacks that you can personally do at your home even you know nothing about photography theory.
Please remind that,
All theory in this photo session is using available light only!
I know that using available light a.k.a the sun light is quite terrible because you have to wait several minutes to get the perfect light but using this kind of light is always free. Through this reasons professional commercial photographer prefer to shoot at indoor studio because they can totally control of the light that they use and shoot all the products without wasting their time for just waiting the sun light goes down.
The good news is, as long as you can open your mind and be creative than the sky is belong to your limit, so once again let me share to you about how to shoot commercial product with DIY scratch instant noodle box at home.
1 – Get Prepare the Box
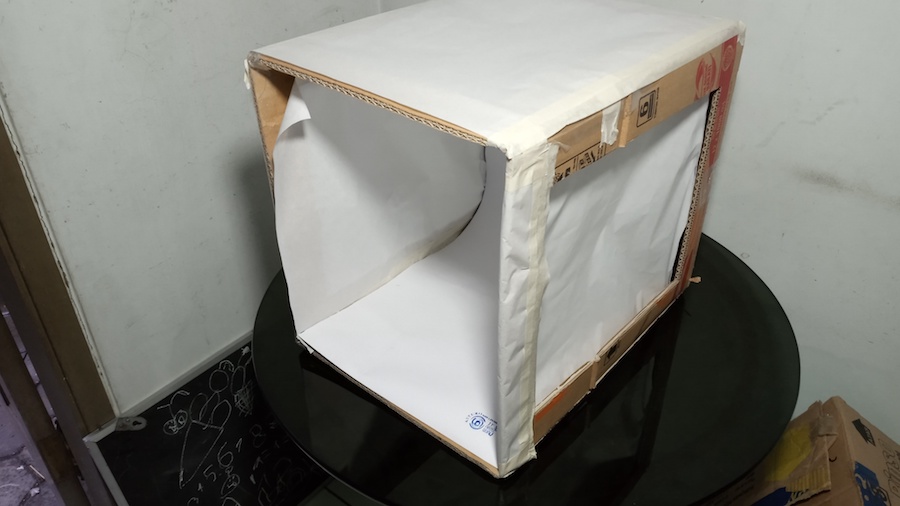
Generally you can use any boxes that you have at home, it could be from your microwaves packaging, instant noodle box, or as similar as EdenseeLake Shipping Boxes. As long as it shape like a cube where you can cut some sides for the window light system than you can use it for sure but what I have for mine is a box that use for instant noodle.

Once you get the box than there are following steps that you need to do:
- Box will genuinely have 6 sides than cut loss 1 side at the front to be the main window where you can put the product in
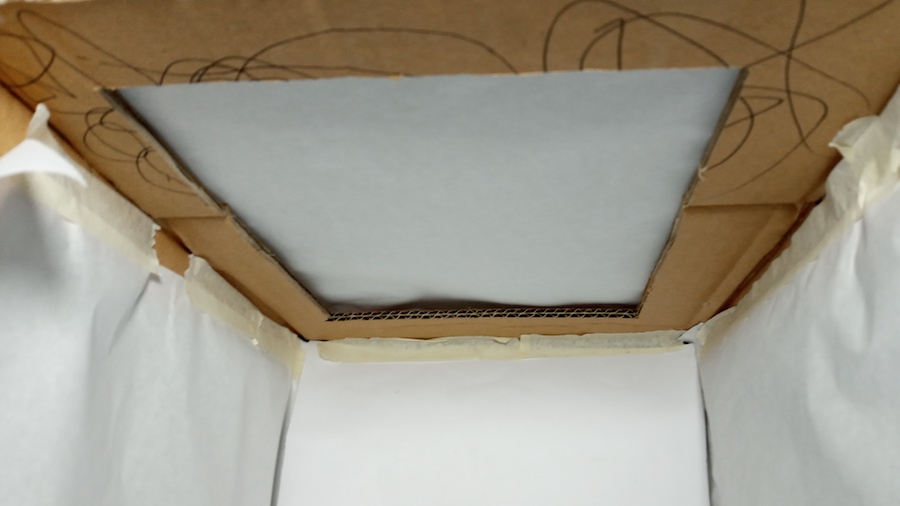
- Cut 3 square holes, on the left, right, and above – this gonna be a window where the light goes in
- Cover all those 3 square holes with any kind of diffuser materials like Nylon Silk White Seamless Diffusion Fabric or similar to reduce the sunlight and transform it into soft light
- Put a black manila paper on the lower surface for your background and it would be great if you could have the white paper background too, just in case you need to shoot a product with isolated white background.
- Done!
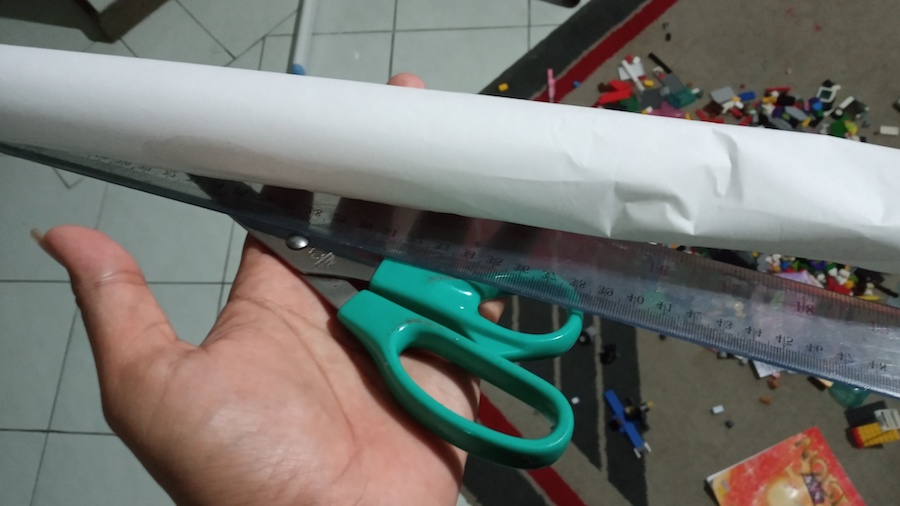
NOTE – you might need a scissors, razor knife, paper tape, and stainless rulers to work on this DIY box
2 – Put Your Box Right Under the Sun
Once again you have to remind that this method is 100% using an available light so when you have the DIY box done than go to some places that have full of sun light intensity so you will get maximum light source. The picture below is on my car port where I put the DIY box on the table and I simply put it right under the sun.
My table is quite hard because it owned by my mom so you may consider to have portable folding table too so you can simply move it to any spot that you love surrounding your house
When you work with available light than surely you will face a problem with weather, sometimes the clouds covering the sun and you must wait for few minutes till you get the light back.
3 – Let’s Start Shooting
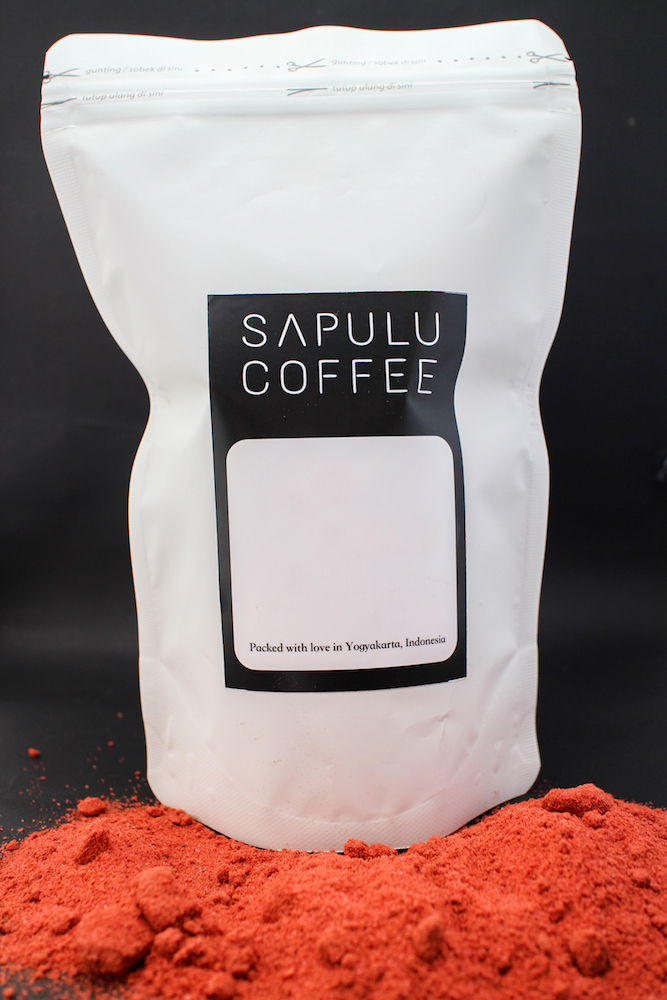
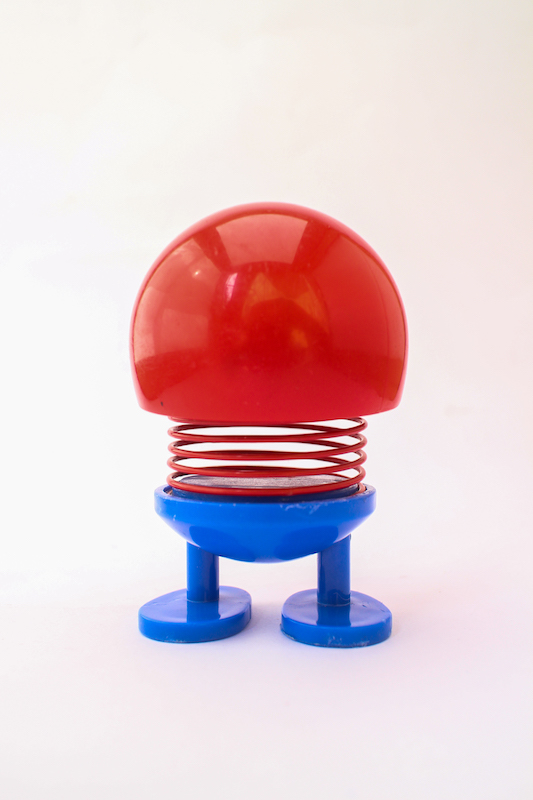
Now is your time to sit back and start shooting your own retail goods, just an honest opinion from me, if you want to shoot for products that related to food and fresh vegetables than it will be better if you shoot with black manila paper but if you shoot for goods that belong to static product like accessories, souvenirs, books, or similar than white paper background will be better. Just see these 2 examples below:
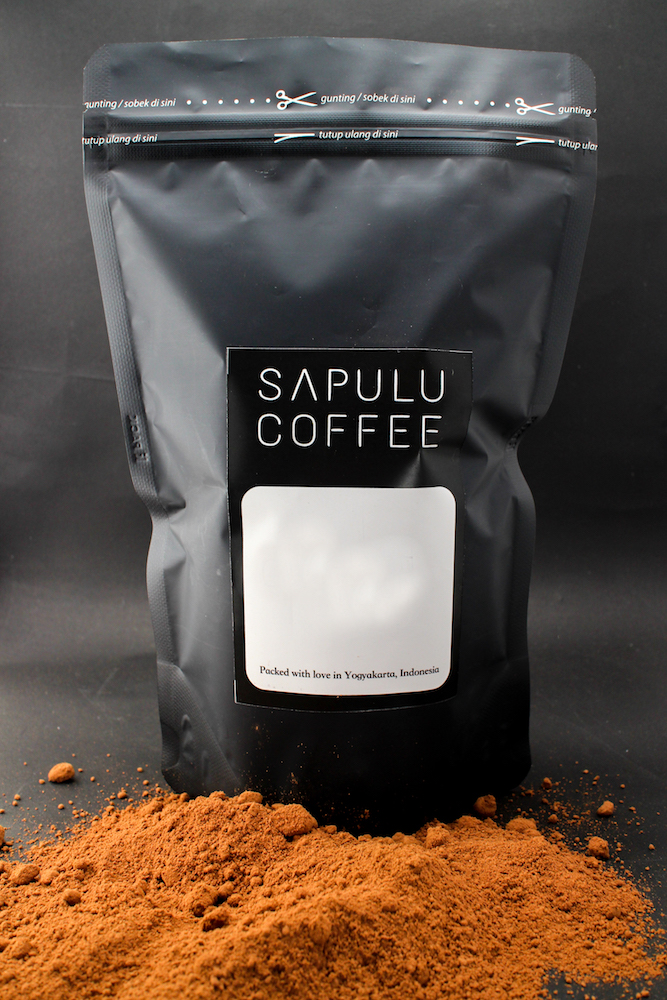
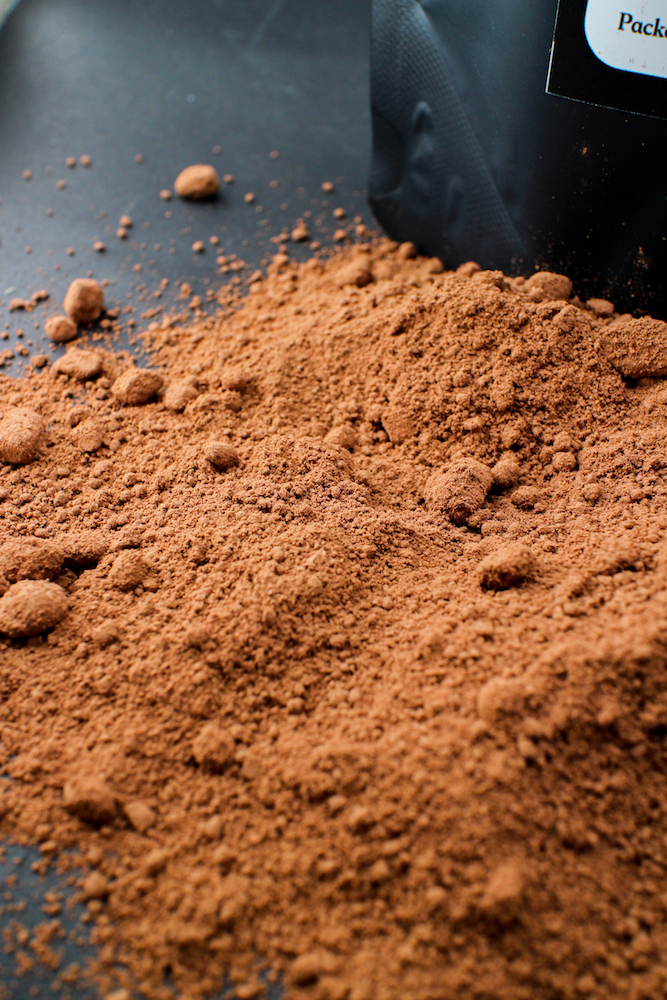
On the picture above you see on the left I made a photo shoot for red velvet beetroot powder that I sell on my cafe and since it belongs to food and beverages goods than I put black manila paper to make it stand out. On the right you see my kid’s toy and since it’s not belong to organic product than I prefer to put white paper background.
By the way I made a behind the scene video about how to shoot commercial product with studio box so I hope you can learn in more further about this technique.
4 – Post Production
Some people become so sceptic when I told about post production but if you asking me about how to shoot commercial product than this step belong to final work flow that you have to be concern.
I personally use two kind of software for working on post production, it’s Lightroom and Photoshop. As long as you already have a great photos than you don’t need to do any kind of digital imaging and when you got it on your own than using Lightroom is way faster than the Photoshop.
Photoshop
I use Photoshop to edit special photographs that really need a treatment, sometimes I have to adjust a lot of things that will make those photos stand out. Due to my experience if you never had Photoshop before than using this software is quite challenging.
I learn to use Photoshop since in the beginning of my photographer career and it’s quite challenging. I read so many books and join for any tutorials and if you do it too than you surely will be able to mastering this software. just in case you need more further education about Photoshop CC just like what I had than you can check my recommendation below:
Few weeks ago I made a LIVE tutorial about editing food photos on Photoshop so let see how I retouch my food photo by using Photoshop below,
Lightroom
Using Lightroom is my next recommendation of having simple post production work flow even all the features is almost similar with the Photoshop but Lightroom is made for someone who want to work faster. It’s not only about how using the Lightroom Presets to boost your work speed but you also have to understand how this software work on your photographs.
In fact I use Lightroom to edit all my coffee shop’s product that I shoot today and it seriously fast and safe my time. DIY box that I recommend you to have is really helpful and once you able to work with it than you can have a clear shots through this mini box and as long as you get it done in a good way than I sure that all photos that you have are great than Lightroom is still the best software to work after all..
I just made Singapore Glamz LR Preset following my trip to Singapore last year and whenever you want to edit food photos and landscape that using available light for majority than this presets will works well.
Let’s check this video thriller below,
5 – Get Your Photos Done
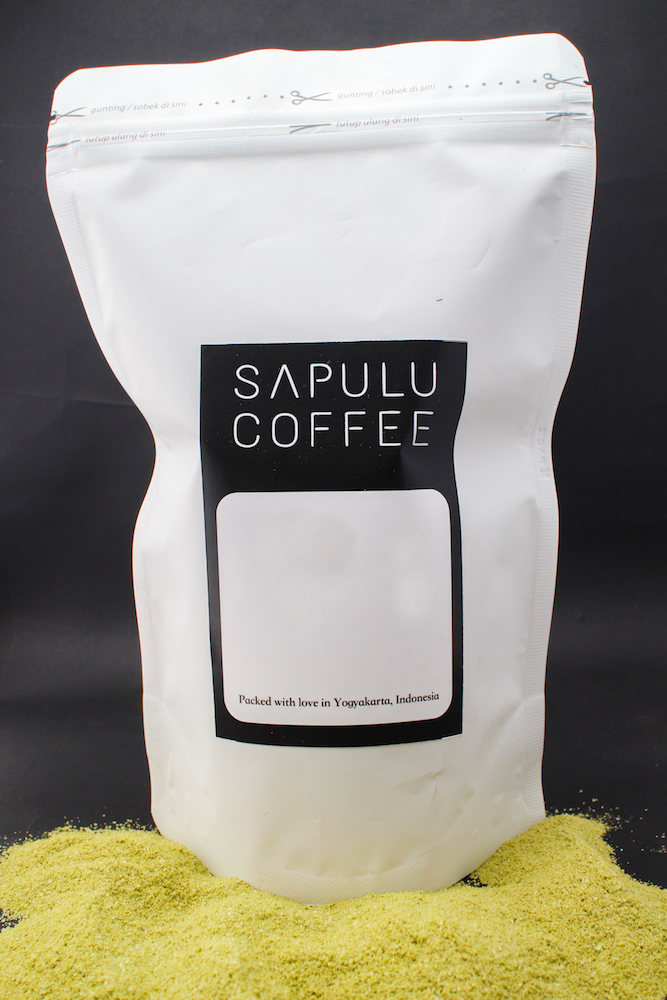
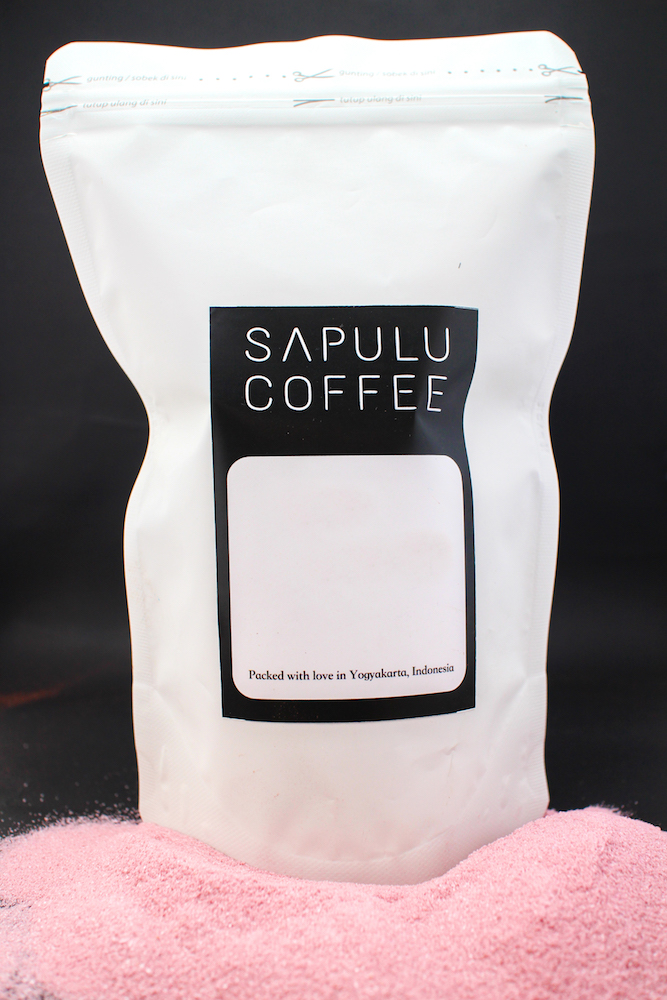
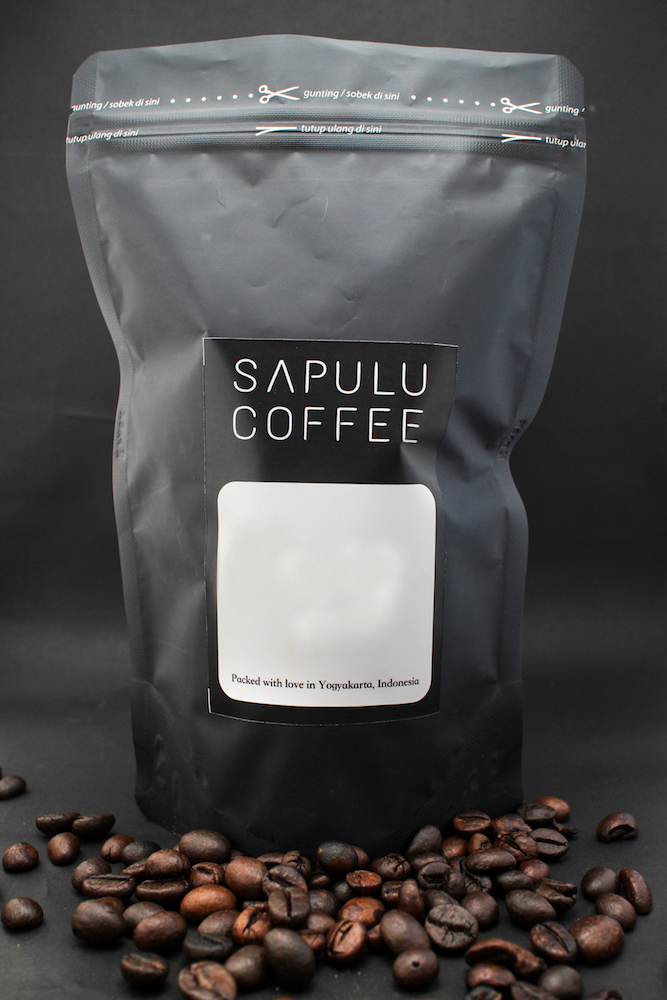
I work around an hour to shoot for few products that I’m going to sell in my cafe, weather is great so I can get clear sun light for the whole session. I’m so excited to show you how this cheap DIY box help me so much to work on this session. Let me show you few of my final photos following the photo session.
3 Best Entry Level Mirrorless Camera Under $1000
When people asking me about how to shoot commercial product than they used to continue the question about what gear that they must buy and use to shoot for their retails goods.
It’s Anything!
If I can giving you my honest suggestion than using entry level mirrorless is more fun to do comparing the DSLR. If you work as a professional photographer than you might have a high-and DSLR or pro mirrorless but to make your retails goods photographs stand out than this 3 best mirrorless camera under $1000 is quite enough.
1 – Olympus OM-D E-M10 Mark II with 14-42mm II R Lens
If you consider for entry level mirrorless camera than Olympus OM-D E-M10 Mark II with 14-42mm II R Lens is one good choice, it comes with affordable price, light weight and surely provide you with high quality image.

Pros.
- Super silent shutter for any situation
- Good for extreme outdoor condition
- Light to carry on
Cons.
- Focusing in low light is challenging, especially in the dark of night
2 – Canon EOS M50 with EF-M 15-45mm
I’m quite sure that Canon is great brand and I personally use this camera since 2009 to 2015 and if you need an entry level camera than Canon EOS M50 with EF-M 15-45mm is great choice.

Pros.
- Compliment with great lens for any needs
- Support for 4K video quality
- Super sharp image
Cons.
- Max 30 minutes recording and it start getting hot
3 – Sony Alpha a6000 24.3MP with 16-50 mm Lens
Even I’m not Sony Alpha maniac but touching and shooting with Alpha’s collections is beyond expectation and as my good friend said that Sony Alpha a6000 24.3MP with 16-50 mm Lens is great entry level mirrorless that you can use for creating photos and shoot on traveling.

Pros.
- Fast focus both indoor and outdoor
- Superb on low light
- Light weight
Cons.
- Lag when shooting on burst mode, not recommend at any mirrorless camera for sure

